
- You need only basic supplies: paper, markers, tea or coffee for ageing, a cloth, and water — most homes already have these
- Keep the map recognisable to your real space but not to scale — landmarks should match reality roughly enough that children spot “Ah, that’s the bookcase!”
- Age matters: 4–6 year-olds need simple shapes and bold X, 7–9 need detail and compass rose, 10+ enjoy codes and complex routes
- The ageing techniques (tea stain, crumpling, torn edges) make the map feel authentic but aren’t essential — the hunt itself matters more
- Always match treasures to hiding spots shown on the map — if the map says shed, the treasure must be in the shed, not vaguely nearby
What You’ll Need: The Materials List
Making a treasure map with your children is one of the simplest and most rewarding ways to launch a proper hunt. The good news: you don’t need fancy supplies, your kids can join in from the very first sketch, and a homemade map—complete with tea-stained edges and a slightly dodgy compass rose—will get them far more excited than a printed one ever could. I’ve sat with groups of kids of all ages whilst they’ve hunted from maps I’ve drawn in twenty minutes flat; the ones they remember are never the polished ones.
Before you pick up a pen, gather these essentials. Most of this you’ll already have at home, which is rather the point.
- Paper: A4 or A3 white, cream, or brown paper works brilliantly. You can use brown craft paper if you fancy it—instant aged aesthetic.
- Colouring supplies: Markers, coloured pencils, or crayons. Older kids love fine-tip pens for detail.
- Tea or coffee (or both): For staining. I use whatever’s brewing anyway.
- A sponge or old cloth: For applying the stain evenly.
- A bowl of water: Warm water works faster; cold is fine too.
- Scissors and optional extras: For tearing edges, or washi tape if you want to roll it like a proper scroll.
- Optional but brilliant: A paintbrush for watercolour wash effects, or burnt cork for scorch marks (adult-supervised only).

The Step-by-Step Method: Drawing Your Map
Here’s where you get creative. This isn’t about accurate cartography; it’s about landmarks, paths, and clarity. Younger children (5–7) tend to draw things in simple shapes—a square for a room, a circle for a tree. Older kids (8+) often enjoy adding detail and trying for something that actually resembles scale.
- Sketch the outline first (light pencil): Draw the space you’re mapping—your house, garden, or both. Make it big enough that there’s room to add details without it becoming a muddle.
- Add landmarks: These are the anchors. If it’s your house: the sofa, the kitchen table, the stairs, a cupboard, the back door. In the garden: the shed, the fence, the swing, a big tree, a flower bed. Draw each one as a simple shape, label it clearly.
- Draw the path: Use a dotted or dashed line to show the route from the start to the treasure. This is crucial—it keeps hunters on track and makes the map feel purposeful. Criss-crosses confuse; a clear path works.
- Mark the treasure with X: Place a large X where the treasure sits. Some kids like to put a small picture of a treasure chest, a money bag, or a crown here instead. Either works.
- Add a compass rose: This is brilliant for older kids and looks proper on a treasure map. Draw a circle with four points (or eight, if you’re feeling fancy), mark them N, S, E, W. It doesn’t have to be geographically accurate for your garden; it’s just for atmosphere and a bit of geography practice.
- Include a key (legend): A little box in the corner explaining what your symbols mean. “Red X = Treasure” / “Dotted line = Safe path” / “Rock = Danger zone”. This helps hunters interpret your map and makes it feel more authentic.
- Add clues or riddles (optional): If you want, write a short clue at key landmarks. “At the place where we eat lunch, search behind where the cups live.” Vague enough to need thought, clear enough to be solvable.
- Colour it in: This is where it becomes a proper treasure map. Use different colours for different zones, shade the landmarks, add details like trees and water. Let your child do as much of this as they fancy.
Making the Map Look Old: The Ageing Techniques
This is where the magic happens. An aged map transforms a crayon sketch into a proper artefact. Here are the methods that actually work:
Tea or Coffee Staining (The Classic)
Brew a strong cup of tea or coffee—really strong, the colour you want your paper to be. Let it cool slightly (not boiling, or you’ll damage the paper). Pour it into a shallow bowl or tray.
Crumple your finished map gently (or not so gently; crinkling adds character), then lay it flat. Dip a sponge or cloth into the tea or coffee, wring it out so it’s damp but not dripping, and sponge it evenly across the paper. Some artists prefer to fully immerse the map for a minute or two, then remove and dry it. Both methods work; immersion is faster, sponging gives you more control over the colour intensity.
Dry it flat on a clean cloth or paper towel. You can speed this with a hair dryer on low heat. The paper should go from white to a warm brown or tan—the colour of aged parchment.
Crumpling and Weathering
After staining, whilst the paper is still slightly damp, gently crumple and un-crumple it a few times. This creates natural wrinkles and wear. Be gentle if the paper is soaked; if it’s just damp, you can crumple more enthusiastically. The goal is that the map looks like it’s been folded in a sailor’s pocket for months.
Torn or Burnt Edges (Adult-Supervised)
Torn edges look fantastic. Simply tear the edges by hand—ragged, uneven tears look more authentic than neat cuts. If you want to go a step further and scorch the edges slightly (holding the paper a few inches above a lit candle, moving constantly so you don’t actually burn through it), that’s spectacular—but only with adult hands doing the torching. Charred edges and the smell of age combine perfectly.
Burnt cork rubbed along the edges also works beautifully without the fire risk. Burn a cork in a candle flame until it’s blackened, let it cool, then rub it along the map’s edges.
A Whole-Map Wash (Watercolour Effect)
For a more artistic aged look, thin down watercolour paint or diluted ink—browns, siennas, and greys work well—and brush it over the entire dried, stained map. This adds depth and makes it look less “white paper with tea stain” and more “actual parchment”. Let it dry completely.
Indoor Maps vs. Outdoor Maps: Design Differences
Indoor maps: Think vertically as well as horizontally. Mark cupboards, shelves, under-bed spaces, behind doors. Use room names clearly. A path through the kitchen, hallway, lounge, and bedroom needs to be unambiguous, or you’ll have kids searching the same place twice. For rainy days or half-term hunts, an indoor map is gold.
Outdoor maps: Scale matters more here, though “to scale” doesn’t have to mean accurate. Show fences, trees, the shed, flower beds, seating areas, the trampoline (if you have one), pathways. Mark danger zones—the pond, the patio edge, the neighbour’s garden—so kids know boundaries. Outdoor hunts can cover more distance, which means more adventure.
Hybrid maps: Start indoors, end outdoors. Draw a path that goes “through the kitchen, out the back door, to the shed”. This creates variety and surprise, and honestly, makes for the best hunts. I did one for Oscar’s birthday that started in the living room and finished in the garden—the transition felt like proper adventure.
Matching Your Map to Your Real Space
This is the bit that makes your kids’ brains light up: the map actually matches reality. Not perfectly—not to scale, not geographically precise—but recognisably yours.
If you’re mapping your lounge, draw the sofa where the sofa actually is, the telly where the telly actually sits. When a child looks at the map and then looks at the room, they should go “Ah! That’s the bookcase!” That moment of recognition is pure delight, and it means they’ll follow the map correctly.
For gardens, this is trickier if your garden is odd-shaped or very large, but even a rough representation works. “Big tree is in the top corner. Shed is on the left. That circle is the flower bed.” Your five-year-old will track this without trouble.
The tighter the match between map and reality, the longer the hunt can be, because kids won’t get as lost. A vague map forces you to hide treasures close together; a clear, recognisable map lets you spread them out.
Adding Map Elements That Make It Work
A compass rose looks great and teaches direction. A key (legend) makes kids feel like proper explorers. But the real mechanics that make a hunt flow are these:
- Clear start and end points: Circle the starting position. Mark the final treasure location with a prominent X or symbol. Kids need to know where they’re beginning and where they’re heading.
- Numbered waypoints: If your hunt has multiple stops, number them 1, 2, 3, etc. on the map. This prevents confusion and backtracking. “Find stop 1, then stop 2, then the treasure.”
- Distance or pacing hints: Write “10 paces north” or “five steps through the kitchen” next to landmarks. This is especially useful for older kids and outdoor hunts. It slows them down in a good way and adds structure.
- A warning zone (optional): Mark areas that are out-of-bounds. “This is Shark Water” (the pond) or “This is the Volcano” (the radiator) adds drama and safety.
Using the Map in Your Actual Hunt
The map is useless unless it guides the hunt properly. Here’s how to make it work:
Give each child (or pair, depending on age) a copy of the map at the start. Read the map together: “Where are we?” “Where are we going?” “What does this symbol mean?” Check that they can follow it. Younger children (5–7) often need an adult or older sibling nearby to interpret; older kids (8+) can usually navigate independently, though they still like the security of an adult in the garden.
Place your treasures exactly where the map shows them. This sounds obvious, but I’ve watched hunts collapse because the treasure location didn’t match the map. If the map shows an X under the back-left corner of the garden, the treasure needs to be there, not vaguely in that area.
If you’re running a longer hunt, consider clue cards at each waypoint. “You’ve found the Oak Tree (stop 2). Well done! Read the next clue to find stop 3.” This keeps momentum and prevents the map becoming so complex that kids lose interest.
After the hunt, let kids keep their maps. They’re excellent keepsakes, and they often want to design maps for you next time.
Treasure Map Ideas for Different Ages
What works for a five-year-old won’t work for a ten-year-old, and vice versa.
| Age | Map Style | Best Features | Hunting Tips |
|---|---|---|---|
| 4–6 years | Simple, bright, bold shapes | Large X, few waypoints, clear pictures not words | Keep the hunt short (3–5 stops max). Adult-guided. Indoor is safest. |
| 7–9 years | More detail, symbols, a key | Compass rose, simple clues, numbered waypoints | Pairs work well. Can manage a longer hunt (5–8 stops). Outdoor works now. |
| 10+ years | Complex, challenging, themed | Multiple treasures, coded clues, distance markers | Can work independently. Riddles and mini-challenges between waypoints keep them engaged. |
Quick Ideas to Level Up Your Map
- Roll it like a scroll: Use a small cardboard tube or dowel, roll the map tightly, tie it with twine or a ribbon. Unrolling it adds ceremony.
- Add a wax seal: Drip candle wax (or fake wax from a craft shop) onto the rolled map and press a stamp or coin into it. Purely theatrical, utterly brilliant.
- Laminate it: If you’re doing the hunt outdoors and it might rain, a cheap laminating pouch seals the map and makes it reusable.
- Create a “found” story: Write on the back of the map: “Found in a bottle, 1823. Directions to lost pirate treasure…” or “Discovered in Grandpa’s attic. For Oscar’s 8th birthday adventure.” This builds immersion.
- Use it with clever clues at each waypoint for extra depth. The map gets them to the spot; the clue reveals what to do next.
Common Mistakes to Avoid
- Too much detail — A map crammed with information overwhelms kids. One landmark per zone, clear path, big X. That’s enough.
- Mismatched scale — If your kitchen is huge on the map but tiny in real life, kids lose faith. Keep proportions roughly sensible.
- Vague treasure location — “Somewhere near the tree” is not a map. “Buried under the large oak tree in the south corner” is. Precision wins.
- Forgetting the actual hunt — A gorgeous map is half the story. The real fun is planning the hunt itself—where treasures go, what the theme is, how the clues flow. Invest time in both.
- Maps too small to read — Draw on A3 if you possibly can. A4 works, but A3 gives you space to breathe and makes landmarks clear. Kids hate squinting.
Where to Find Ready-Made Map Templates
If you’d rather skip the drawing and go straight to colouring and ageing, our print-at-home pirate treasure hunts include a ready-drawn map that you can personalise with your own landmarks and print in minutes. But honestly? Drawing your own with the kids is half the fun. They remember the creation as much as the hunt itself.
Wrapping Up: The Map Is Just the Start
A treasure map is more than a piece of aged paper with a wonky compass rose. It’s a physical anchor for imagination. Your child holds it, studies it, follows it—they’re solving a puzzle in real time, moving through their own world as if it’s unexplored territory. That’s powerful stuff, and it costs almost nothing to create.
The best maps I’ve ever seen were drawn by mums in twenty minutes using tea and markers. The worst were the expensive ones printed on “parchment” paper from the internet. What mattered was whether the hunt that followed was thoughtful and fun. Your kids will forgive a dodgy X or a compass rose that points the wrong way. They won’t forgive a boring hunt.
Grab some paper, brew the tea, and draw something brilliant. Your next family adventure starts with a map.
Frequently asked questions
What materials do I need to make a treasure map?
How do I make paper look old with tea or coffee?
Should I make the map indoors or outdoors?
How do I make the map match my real house or garden?
What age is a treasure map suitable for?
Can I reuse a treasure map for multiple hunts?
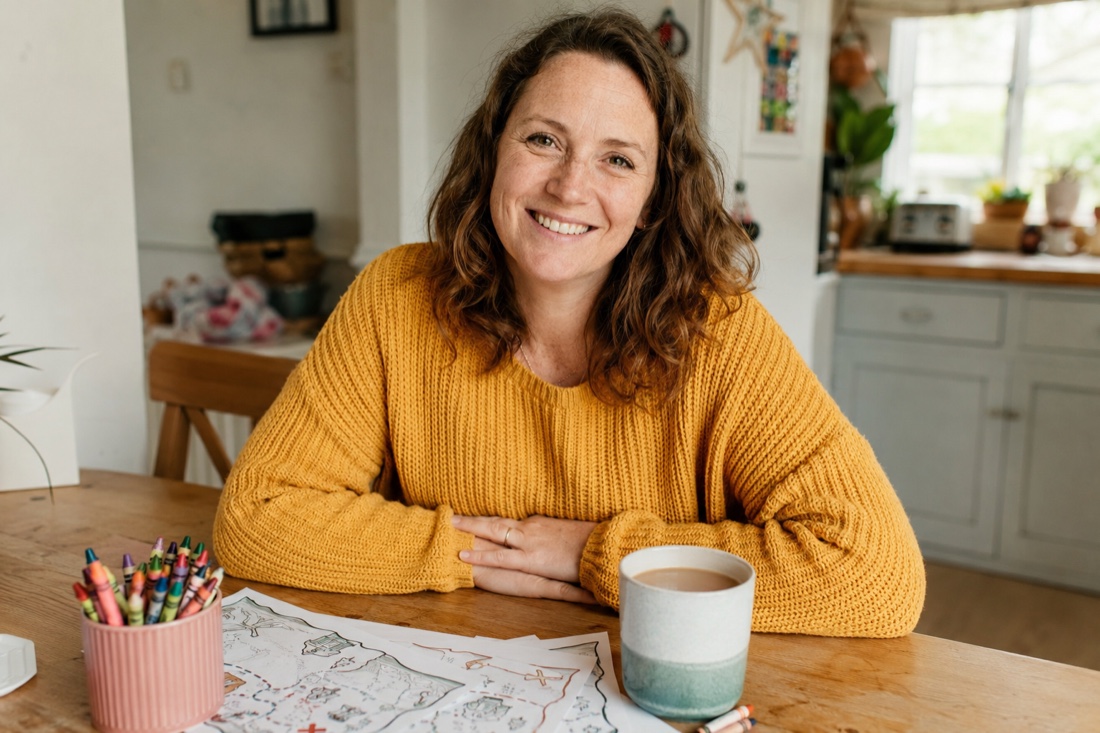
Written and play-tested by Hannah — a Yorkshire mum of two and former primary-school teaching assistant. Last reviewed June 2026.
🗺️ Ready-made hunts you can print tonight


Hannah is the mum behind Riddlelicious — a former primary-school teaching assistant who tests every printable hunt on her own two before it reaches the shop.


